Posted in Fibre

Crochet (Tunisian) – Lamia Wrap

A look at the back of the wrap. The striping alternates between being subtle and not so subtle.

This project came about because I subscribed to Toni’s YouTube channel TL Yarn Crafts a few months ago. She’s a crochet designer that focuses primarily on the Tunisian crochet method. Toni shares tutorials, updates, and reviews of yarn and tools on her channel. You can find many of Toni’s patterns on Ravelry and her blog.

I learned Tunisian crochet ages ago. A single “row” of Tunisian crochet usually consists of a forward pass (in which you keep all the loops you create on the hook) and a backwards pass (you work all the loops off the hook). Depending on the size of the project you will likely have an extremely long hook or a hook with a cable attached to one end with a stopper to keep things from sliding off.

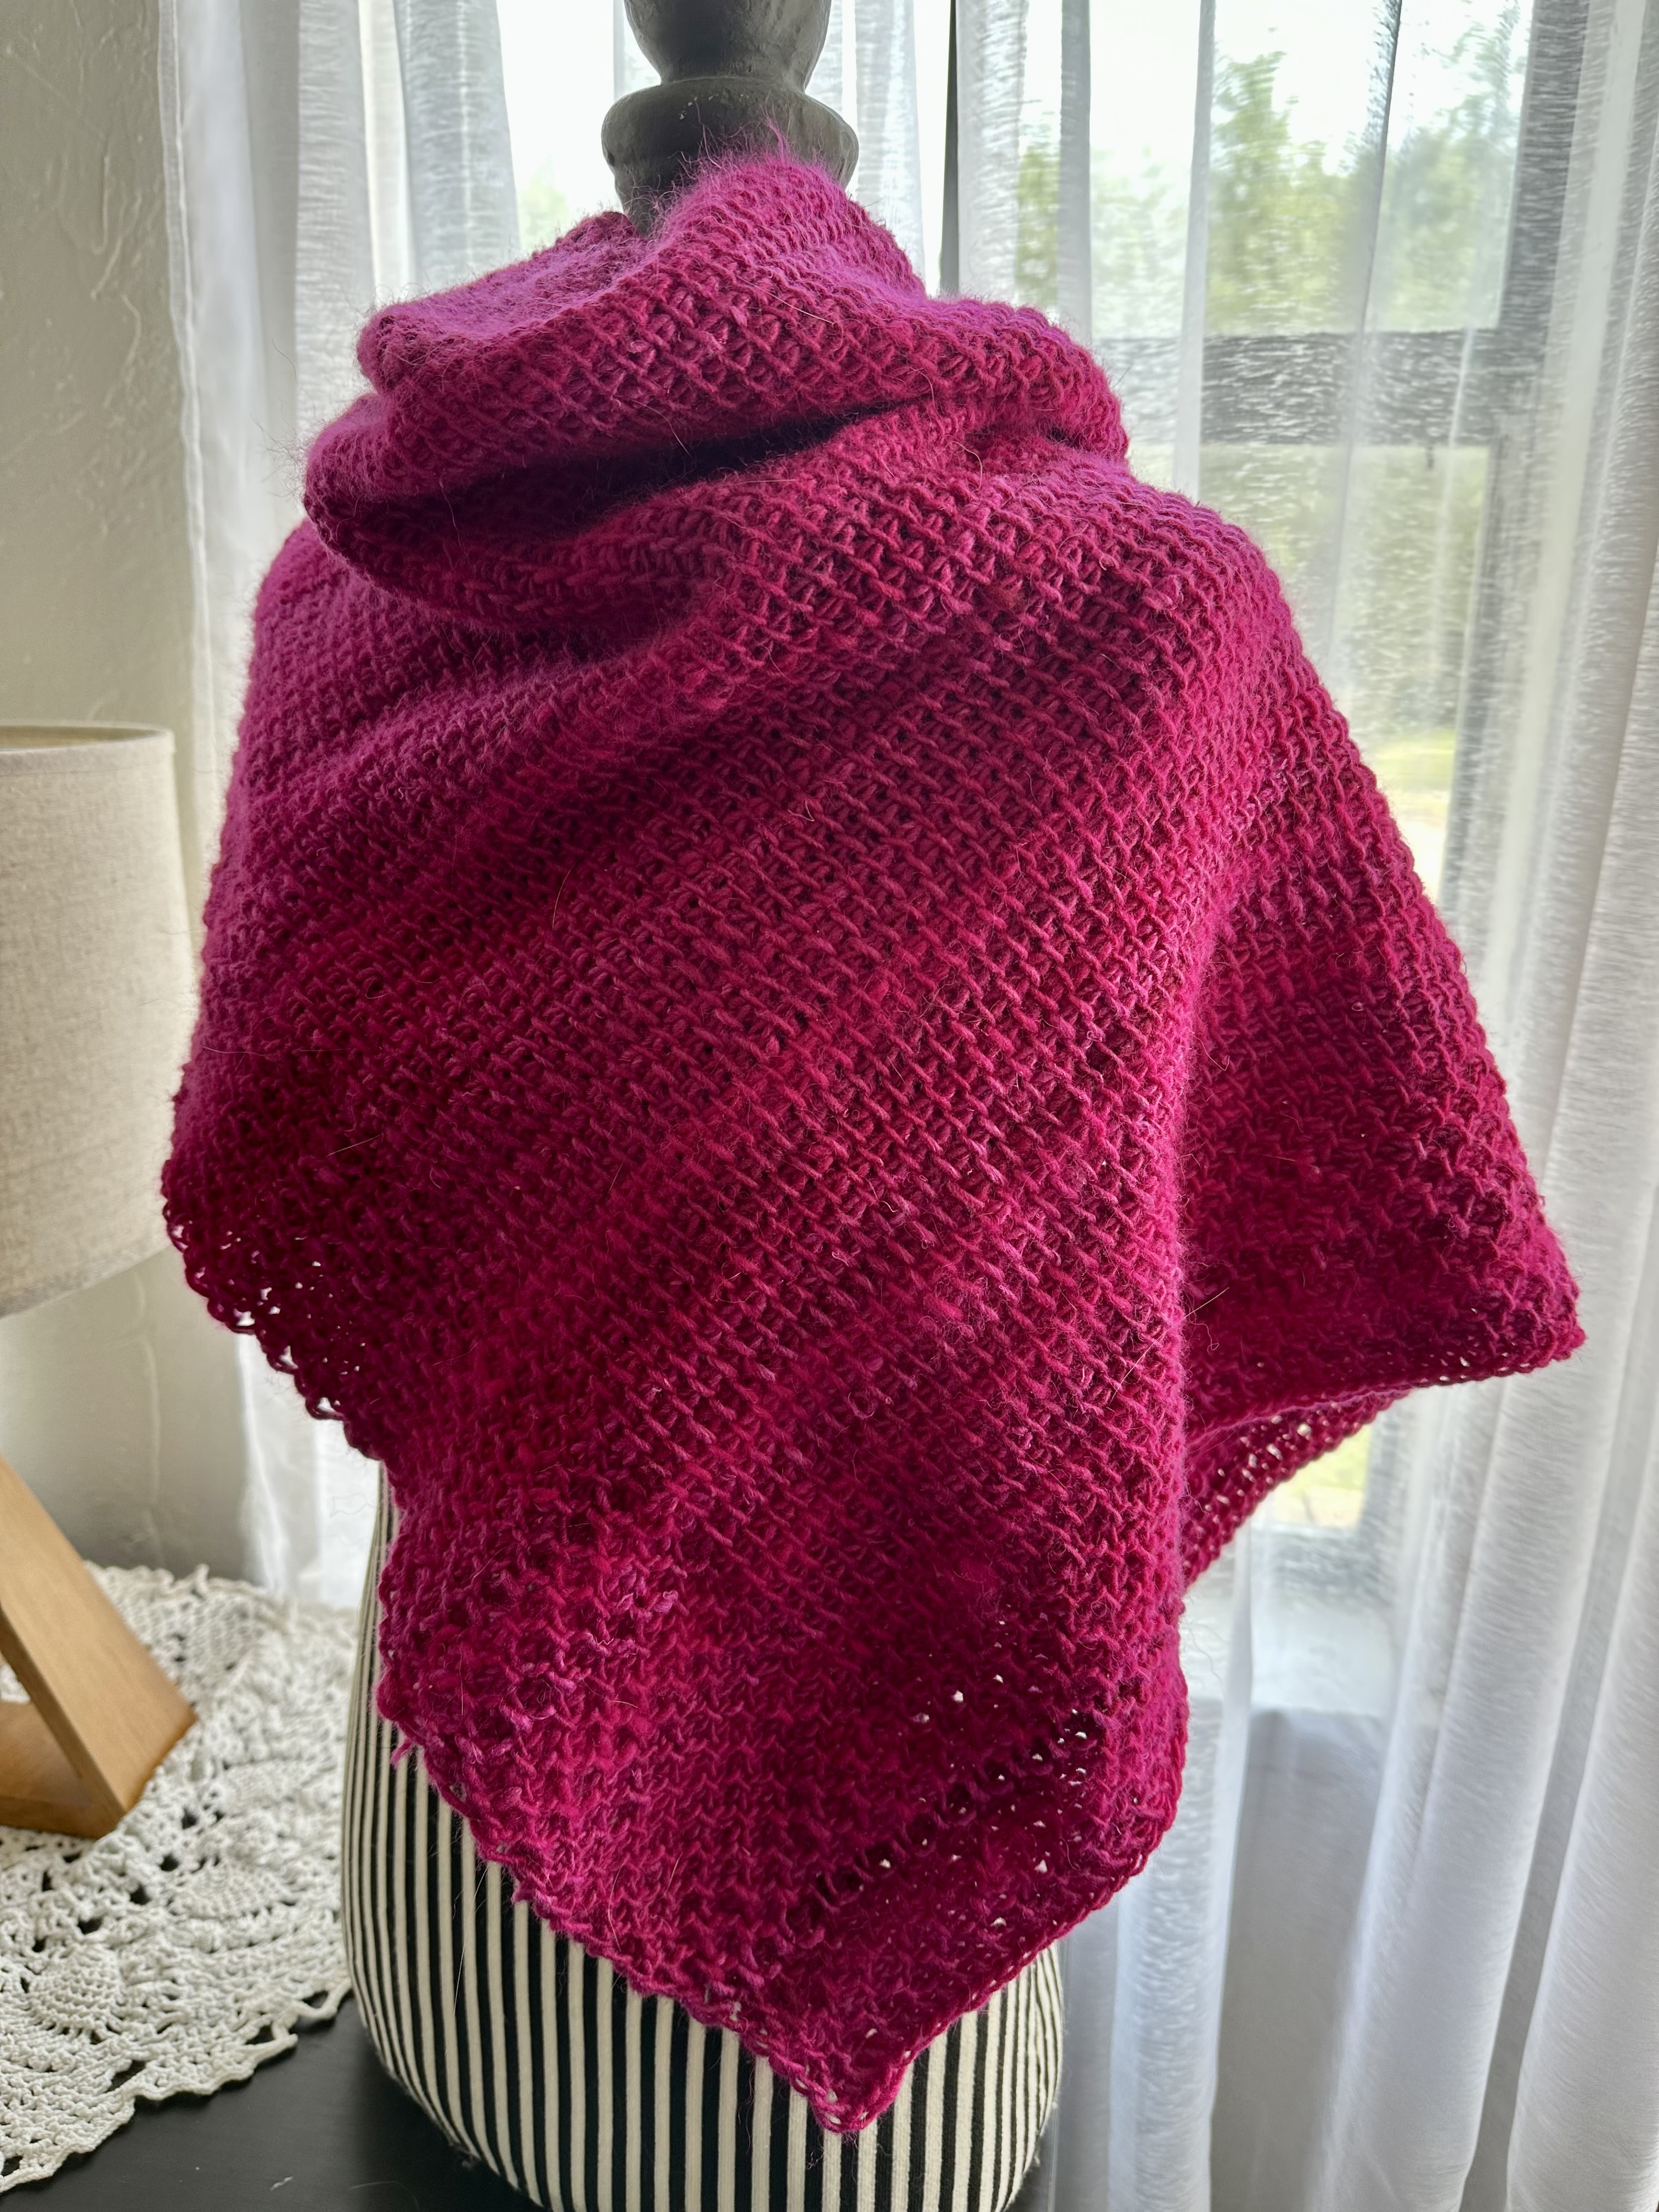
When originally learned this technique I learned the simple stitch and then promptly moved back to “regular” crochet. After finishing my last project I decided to brush up on my Tunisian crochet after catching up on some of Toni’s videos. She described the Lamia Shawl as a friendly beginners pattern that could be finished over a weekend. A combination of a honeycomb pattern and simple stitch pattern the Lamia wrap seemed to offer me just the right amount of challenge to renew my skillset. So I dug through my yarn stash for yarn that I could use.

Harley was not always thrilled with me covering her with the wrap to check my progress. At some point I started rolling the worked portion up.

At first I pulled some Noro Secret Garden out. I worked the first seven rows over and over again. At least six times. By this point I understood what I was supposed to see when translating from page to hook. I also realized that I didn’t want to use Noro Secret Garden due to it’s striping properties (long color runs). So back to the yarn stash I went and the only yarn I had that I had in the needed quantity was Noro Retro in Magenta.

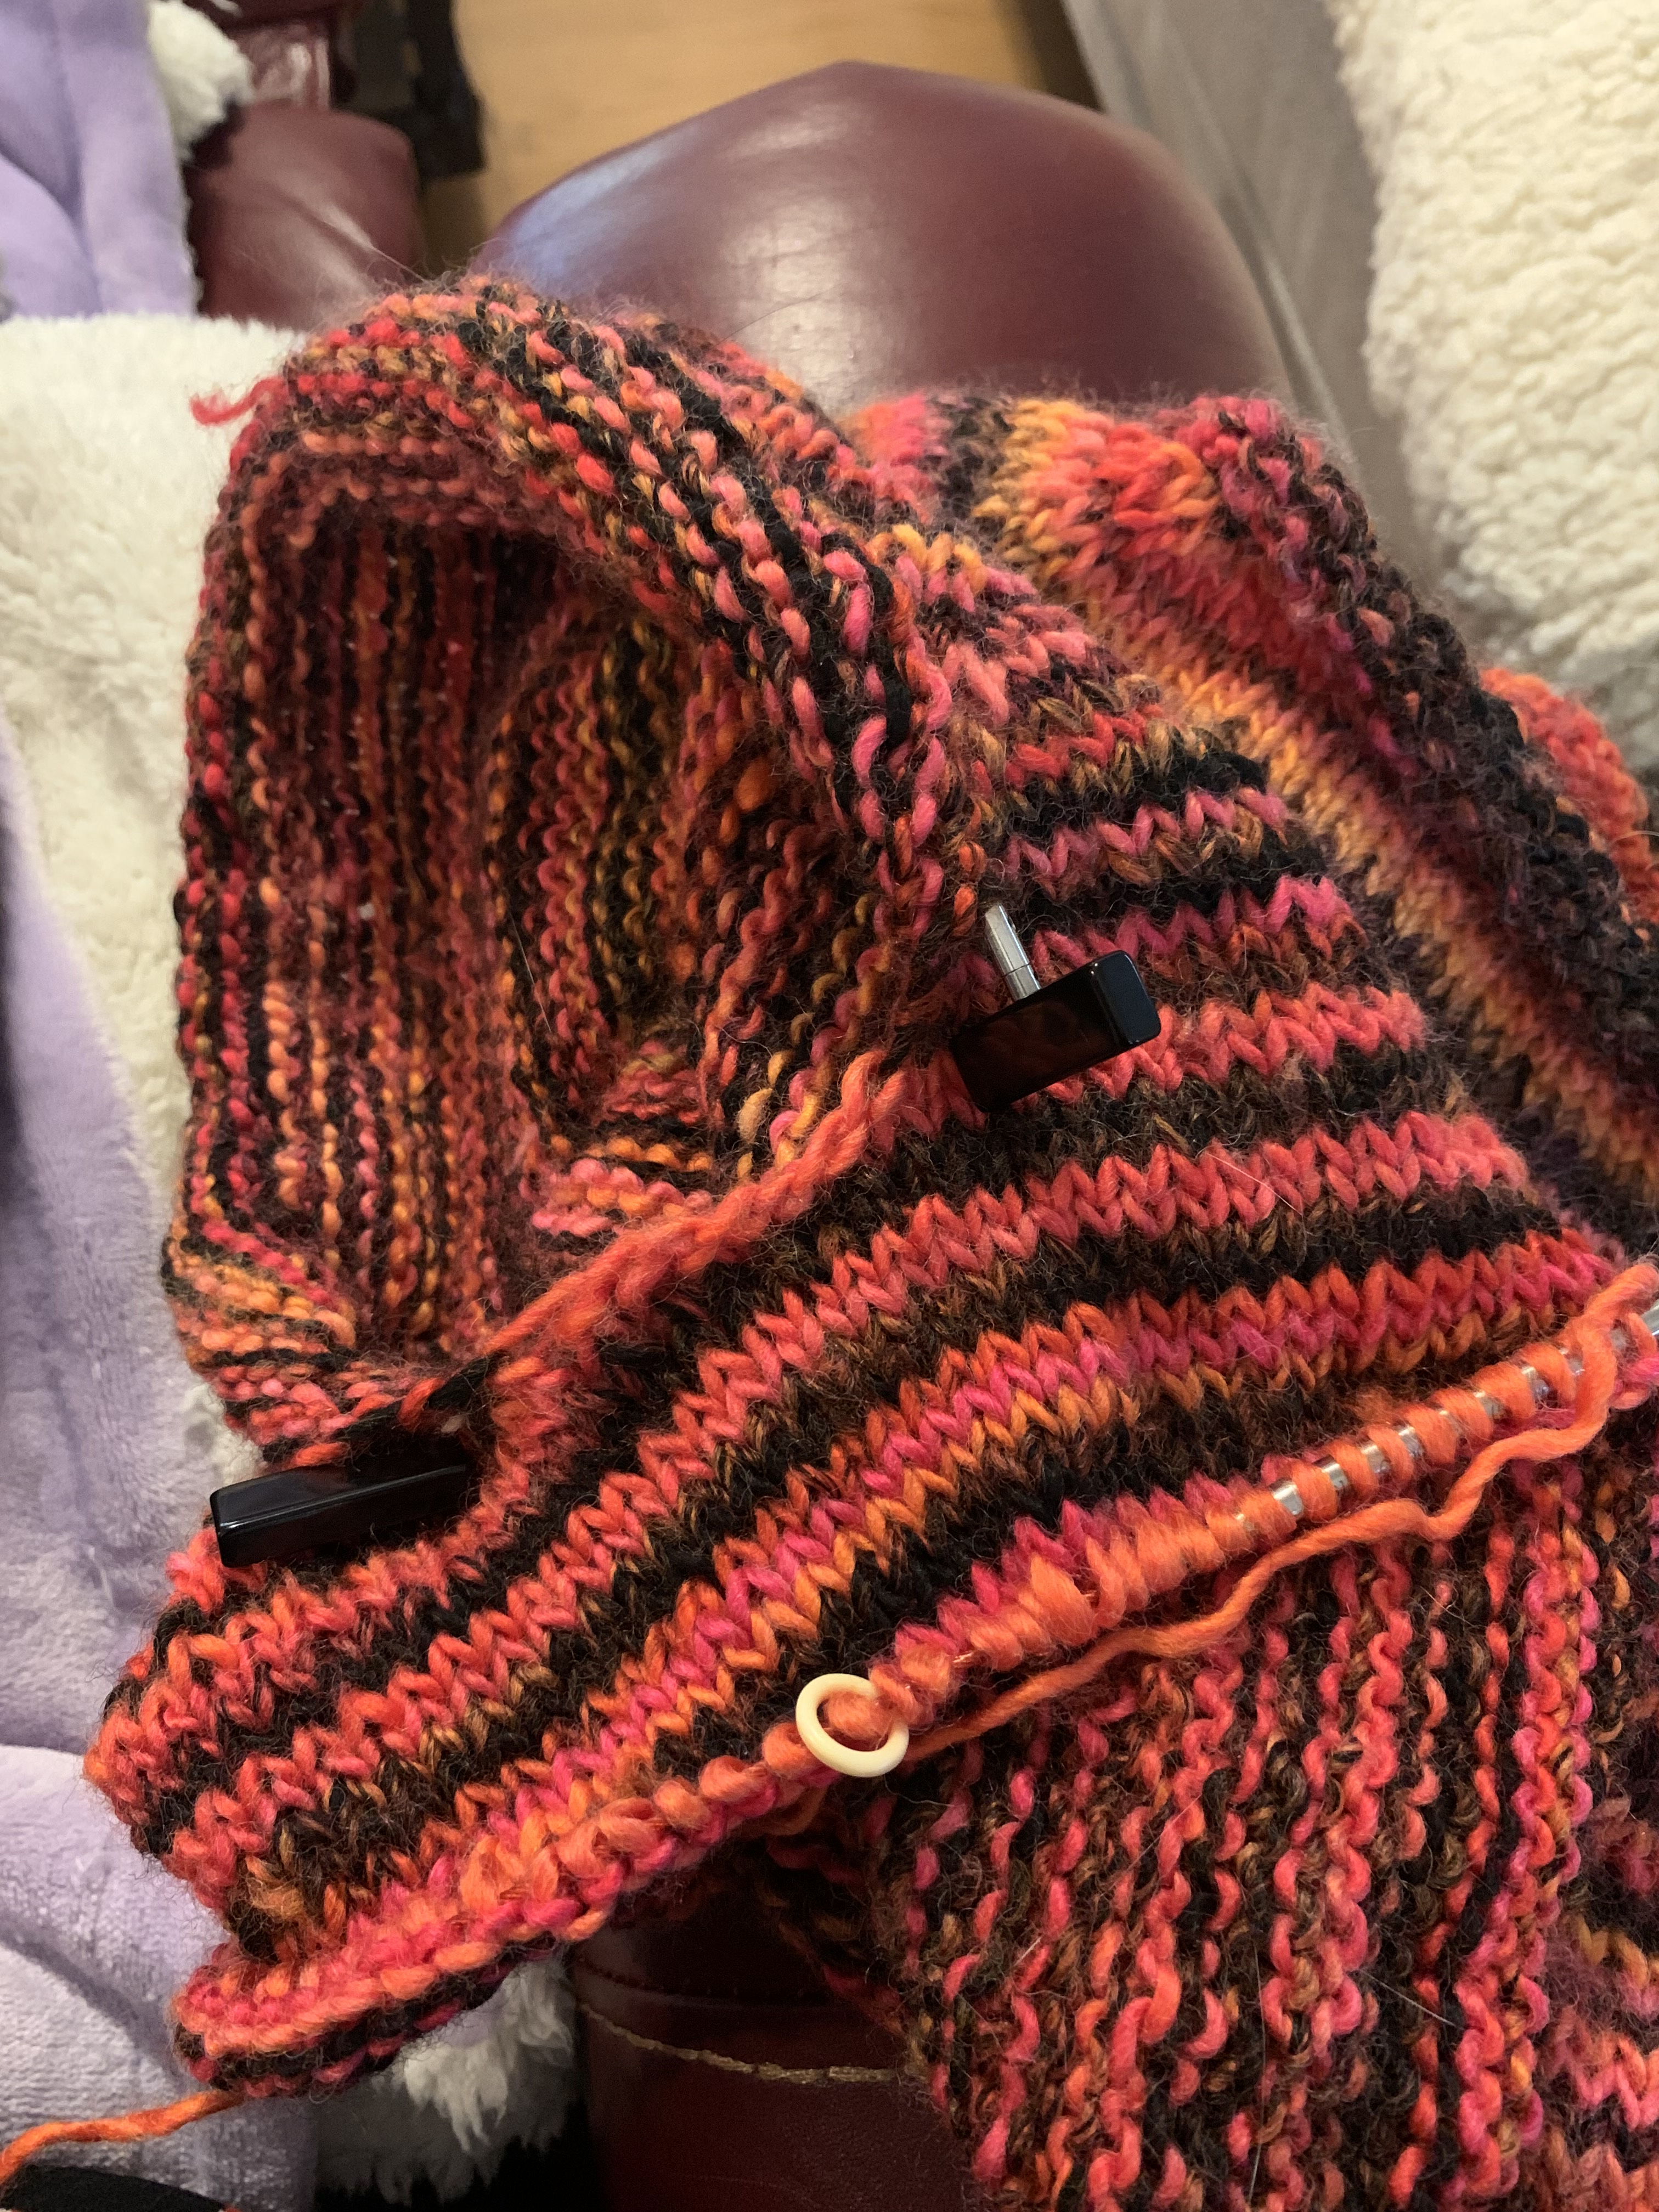
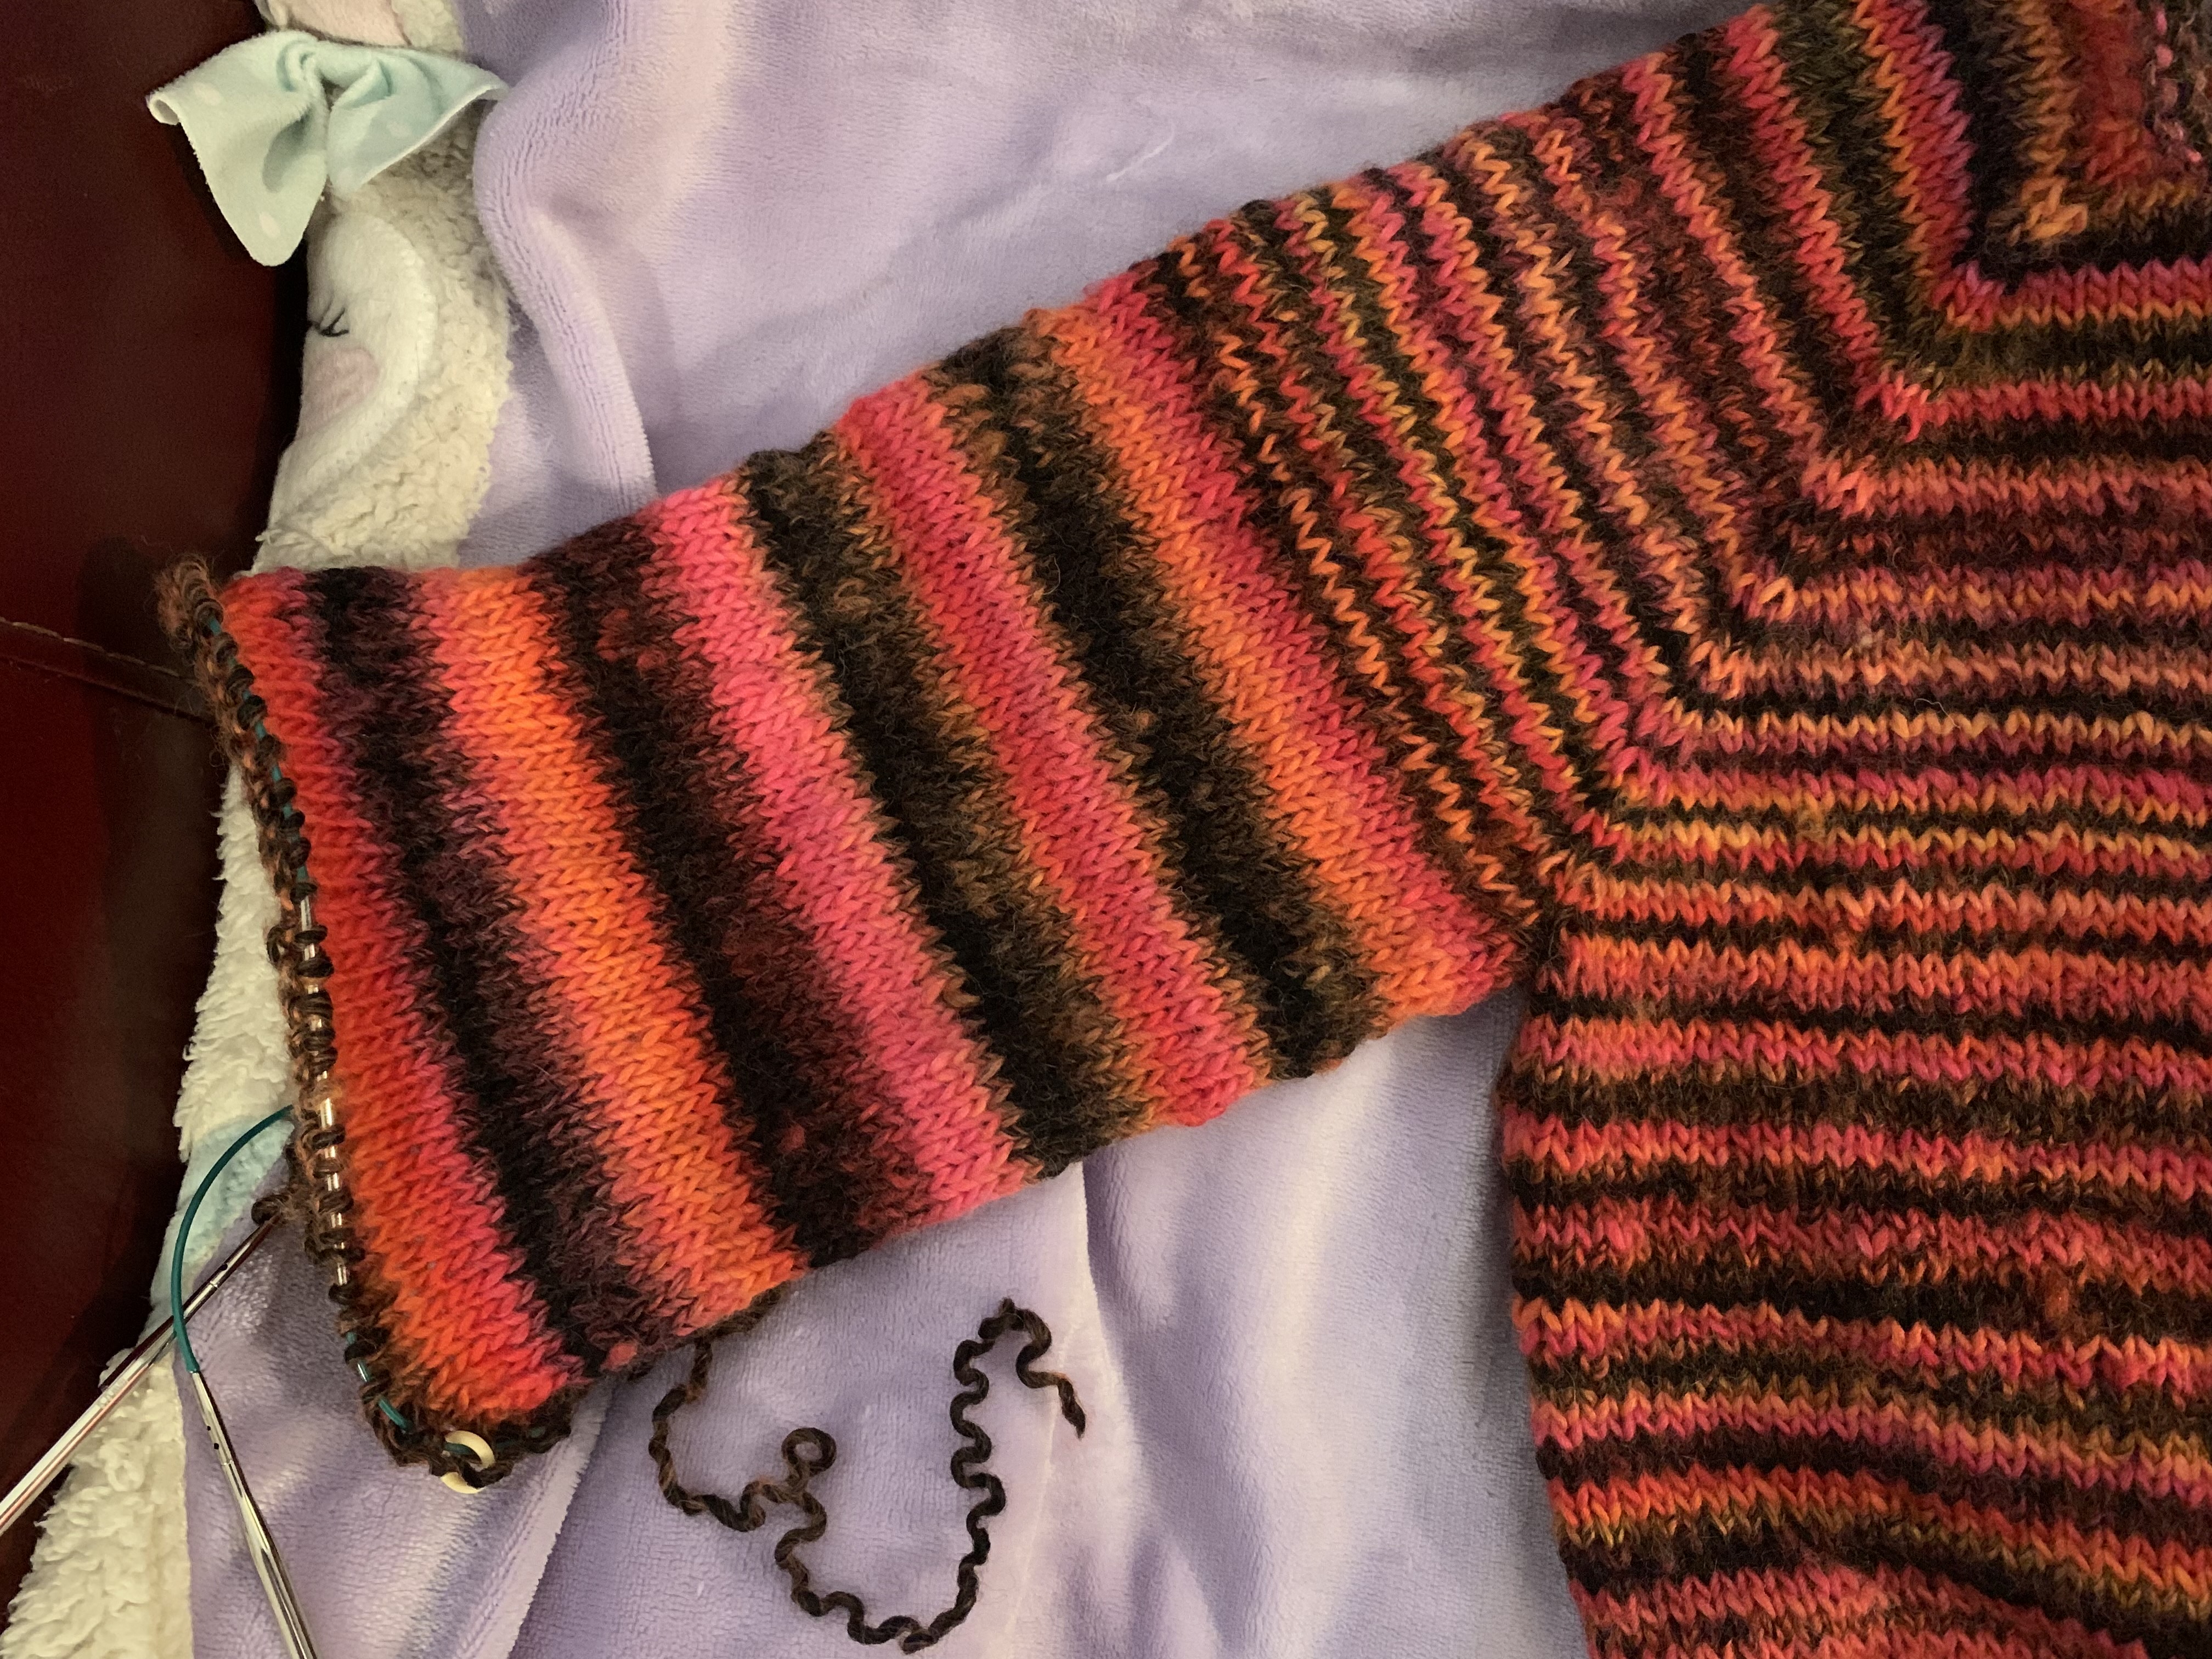
I was at least ten rows into the pattern with the yarn when I realized that it was a semi solid color which was hard to tell simply looking at the ball of yarn. So I still ended up with a striped fabric in the end. Just more on the subtle end.

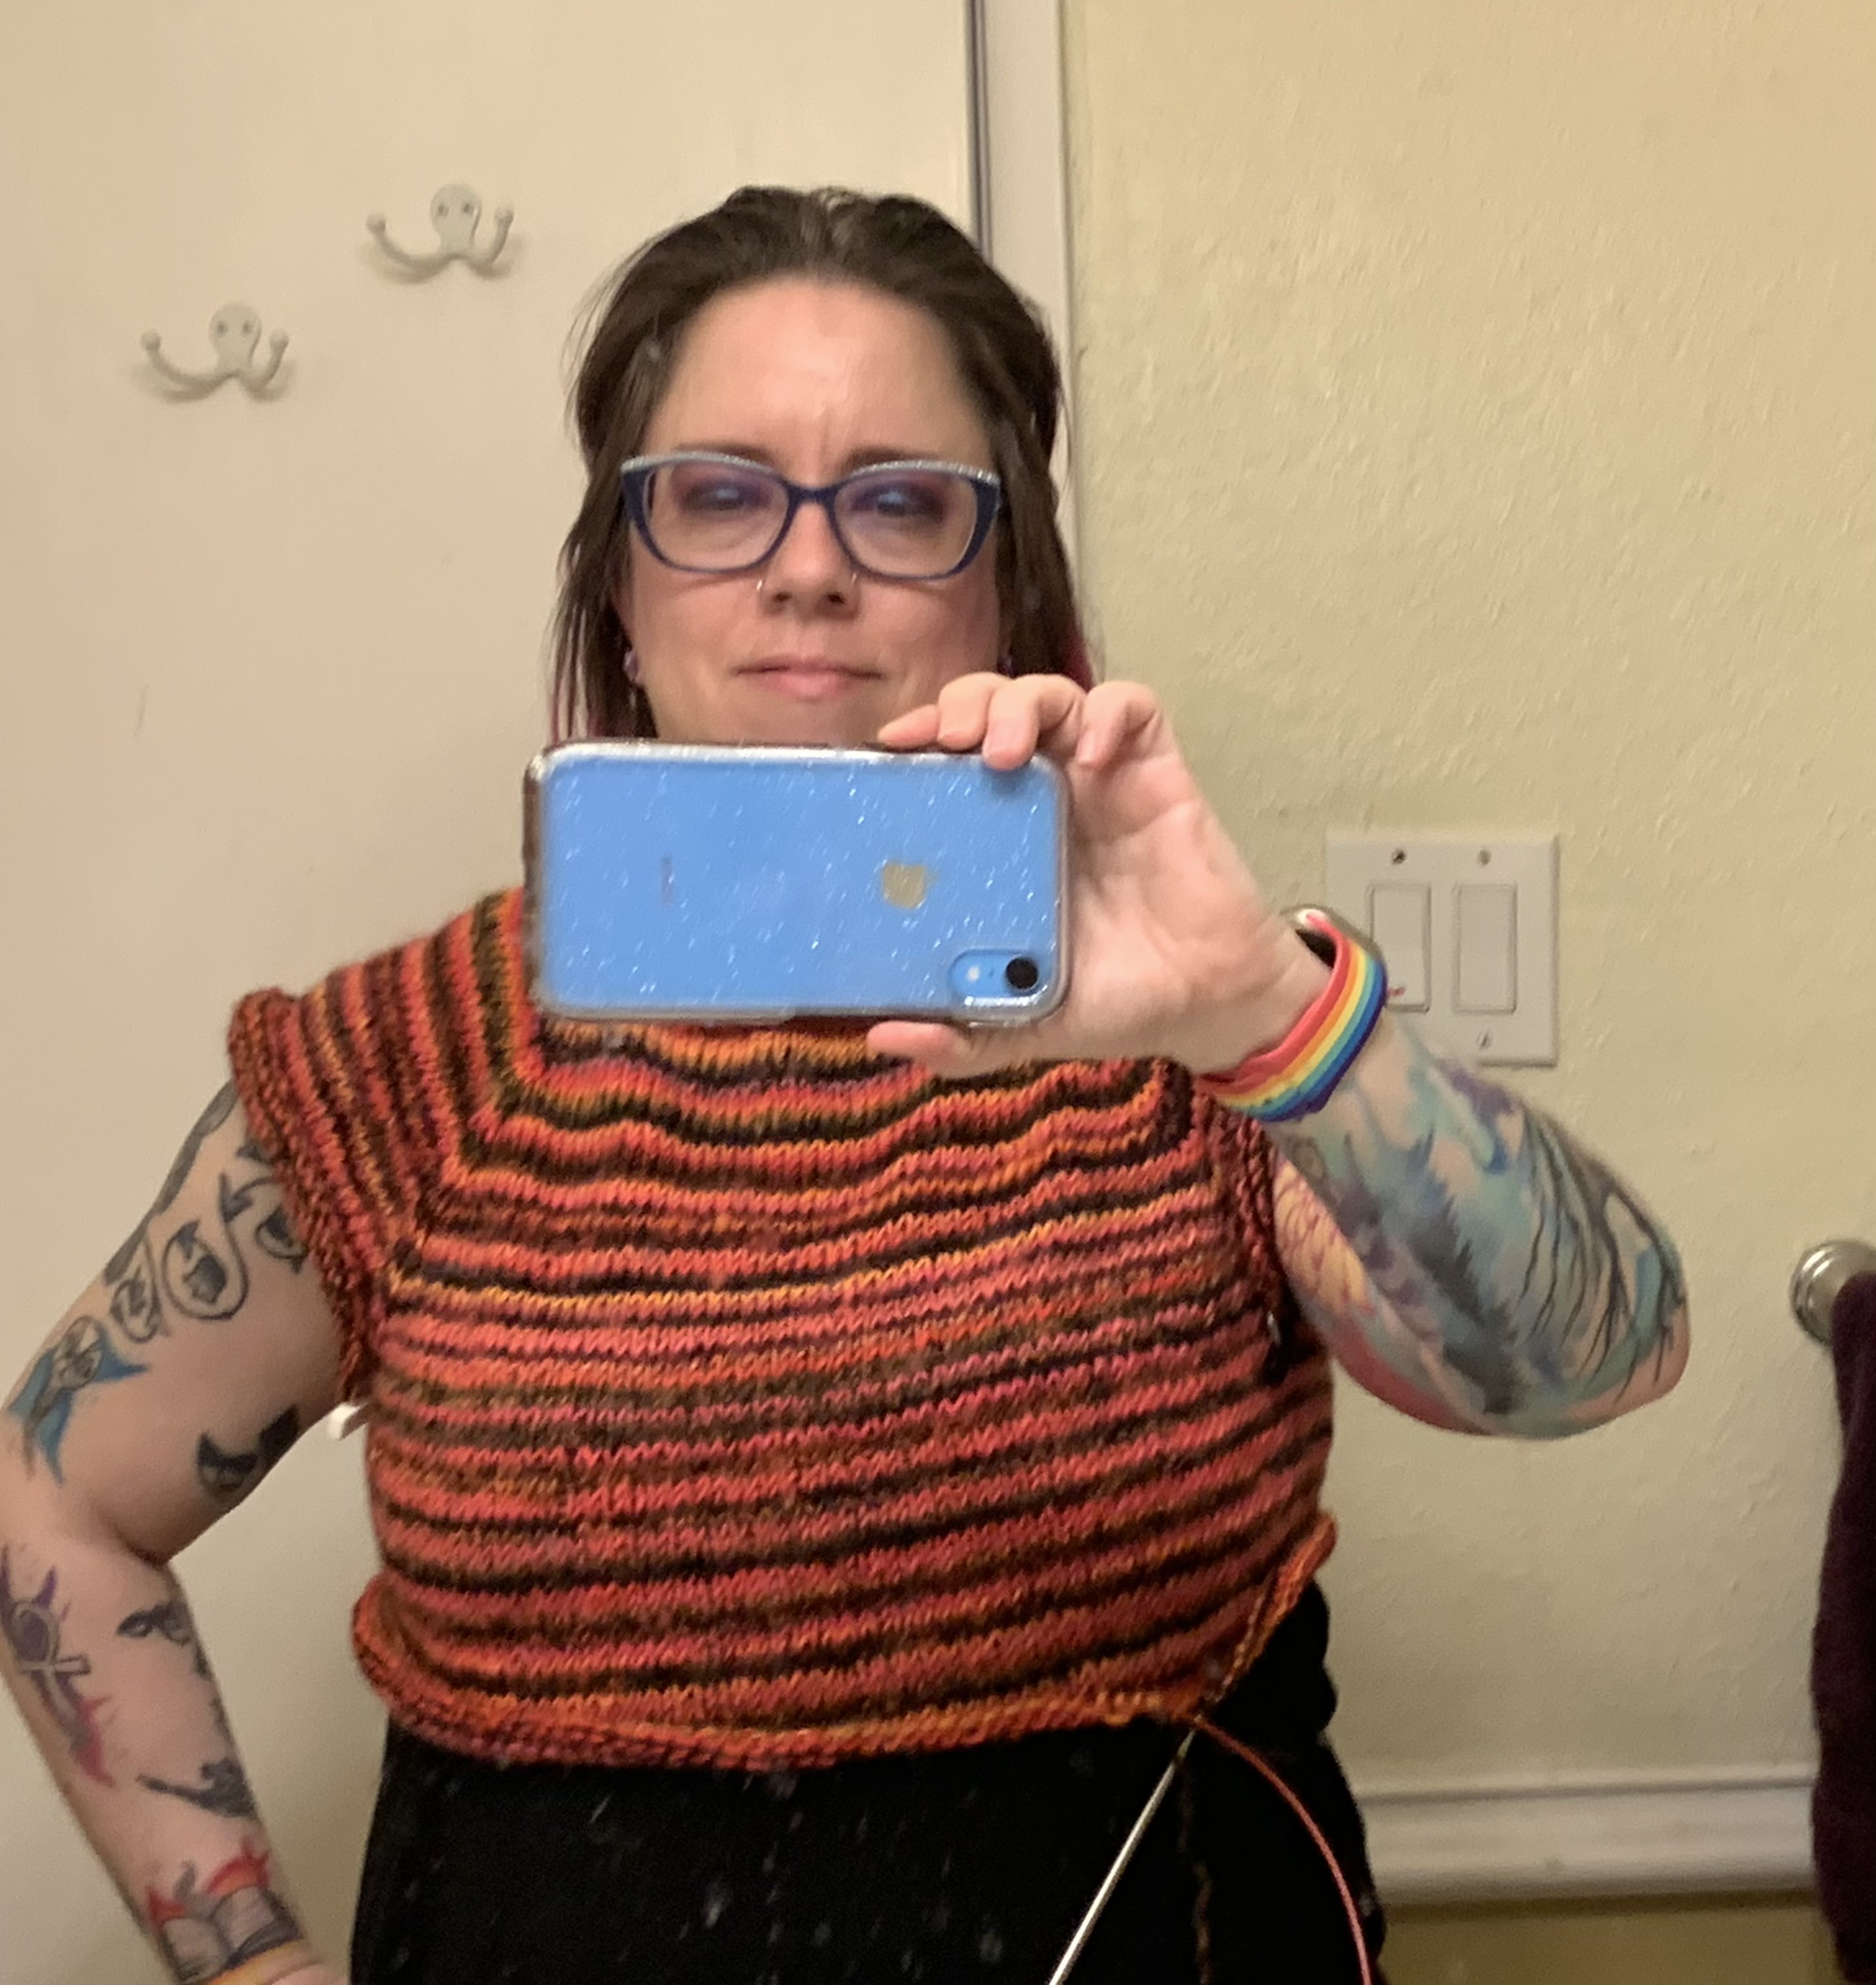
I started this project on April 12th, 2023 and it came off the hook on May 24th, 2023. I worked on the wrap for a few hours every morning for most of that time. I took a break for a few days towards the end. Naturally Harley spent a lot of that time on my lap supervising.

Sometimes I take a good close up. The border is worked at the same time as the main part.

In the end I used 6 skeins of Noro Retro which ends up being 606.0 meters (662.7 yards), 300 grams. I should also mention that Noro Retro has a thick yarn/thin yarn situation going on so the texture of the fabric is varied. I have not blocked it yet to it’s final form. Primarily because it’s not going to get worn unless it goes to someone else. (Little known fact about me – I don’t actually wear shawls/wraps even though I love making them.)

For those that might be interested in the information – when I acquired the yarn it was selling for $10 a ball so in material cost alone this wrap is $60.

I enjoyed making the Lamia Wrap and found it to be a great refresher for relearning/remembering how to Tunisian crochet. Toni has a really nice video tutorial that you can follow for this pattern – which I did watch to understand the purl stitch. (Why yes, it is another thing that it has in common with knitting!) I would recommend Toni’s patterns to anyone that is interested in learning Tunisian crochet.

Much love,

Charlie

Posted in Fibre

Knitting – Neon Goth Sweater

I started this project on March 15th, 2023 with the thought of reverse engineering a pattern that I had acquired ages ago when I worked at a yarn store. It was a pattern that was designed for a specific yarn called Antuco which I did not have nor was I going to look for. I liked the split hemline and bell sleeves on this pattern but it was pieced together and required seaming which I do not like doing. I spent a good portion of an afternoon doing math which turned out to be moot as I shelved the idea of reverse engineering the pattern in favor of taking the elements I liked and translate them to a basic sweater pattern that I am familiar with – a raglan.

The nice thing about a raglan is that there is no seaming and it’s worked top down which means you can try the garment on as you knit and make adjustments.

This was my first test fit to see how much further I needed to knit before starting the hemline. (March 22)

I used Ashley Lillis’s pattern Fall Bluff as a reference for when I needed to start the sleeve separation based on my math from my earlier endeavors. I opted to start with a rolled neckline rather than the garter stitch or ribbed neckline that both patterns used. And then the knitting began.

For the next few weeks I spent the mornings knitting anywhere from two to three hours, sometimes four, before I stopped. I can recall two days, both Fridays actually, that I did not do any knitting.

Split the arms from the body. I’m really glad I have so many cables. (March 21)

Every day, after I finished knitting for the day I would share a progress picture to my Instagram Stories. If you happen to follow me on Instagram these pictures will be familiar. It was a way for me to keep myself motivated. I also sent occasional progress pictures to a friend who was working on his own project (windchimes).

At the mid way point of working on the sweater I actually asked for help from the collective folks from Instagram in deciding on the type of hem I would do – A garter stitch hem or a ribbed hem. The decision was made for a ribbed hem. When I started the sleeves I asked a second question – where to start the bell portion of the sleeve – at the wrist or somewhere above the wrist (like two inches or so). They chose above the wrist.

Harley really didn’t care about my knitting as long as I stayed in the recliner so she could have my lap. (March 28)

About the yarn I used – several months ago I ripped back and reclaimed yarn from a reader shawl I made back in 2012 and never used. The yarn – Millie Colori by Lang Yarns is an equal blend of wool and acrylic fibers. I knew that there was a chance that I didn’t have enough of it to make a complete sweater so I made sure I could finish the body of the sweater and then when I ran out on the arms I would supplement it with Tosh Vintage by Madeline Tosh in Onyx which is 100% superwash merino wool.

It worked out really well. When I started the sleeves I had exactly two balls of the Millie Colori that weighed roughly same so I used one for each arm. Because the yarn fibers are different the bells on the sleeve are actually heavier than the rest of the sweater not in how bulky it is but in actual weight. Which is honestly not something that bothers me.

The width of the stripes changed from the body to the sleeve due to the circumference – the smaller the circle the wider the stripes. (March 29)

The sweater came off the knitting needles on April 5th. I let the sweater rest for a few days before I wet blocked it out on my blocking mat. It spent two days drying and this morning I sewed up the loose ends. Now the sweater is officially finished and ready to wear. Except I live in Texas so I don’t think I’ll get to wear it any time soon. But I did put it on and have Matt take a picture or two.

I really like how this sweater turned out for my first sweater. I might even make a few more, I certainly have plenty of yarn in sufficient quantities. Oh! The reason I decided to call this the Neon Goth Sweater – the colors in the Millie Colori have always felt a bit goth to me even back in 2012 and that orange is really electric. And well… there are bell sleeves.

Much love,

Charlie

Me. In the Neon Goth Sweater. (April 10)